Coffeo Couch is reader-supported. If you buy through links on our site, we may earn a small affiliate commission at no extra cost. Learn more.
How To Roast Coffee Beans In a Popcorn Popper (Easy Guide)
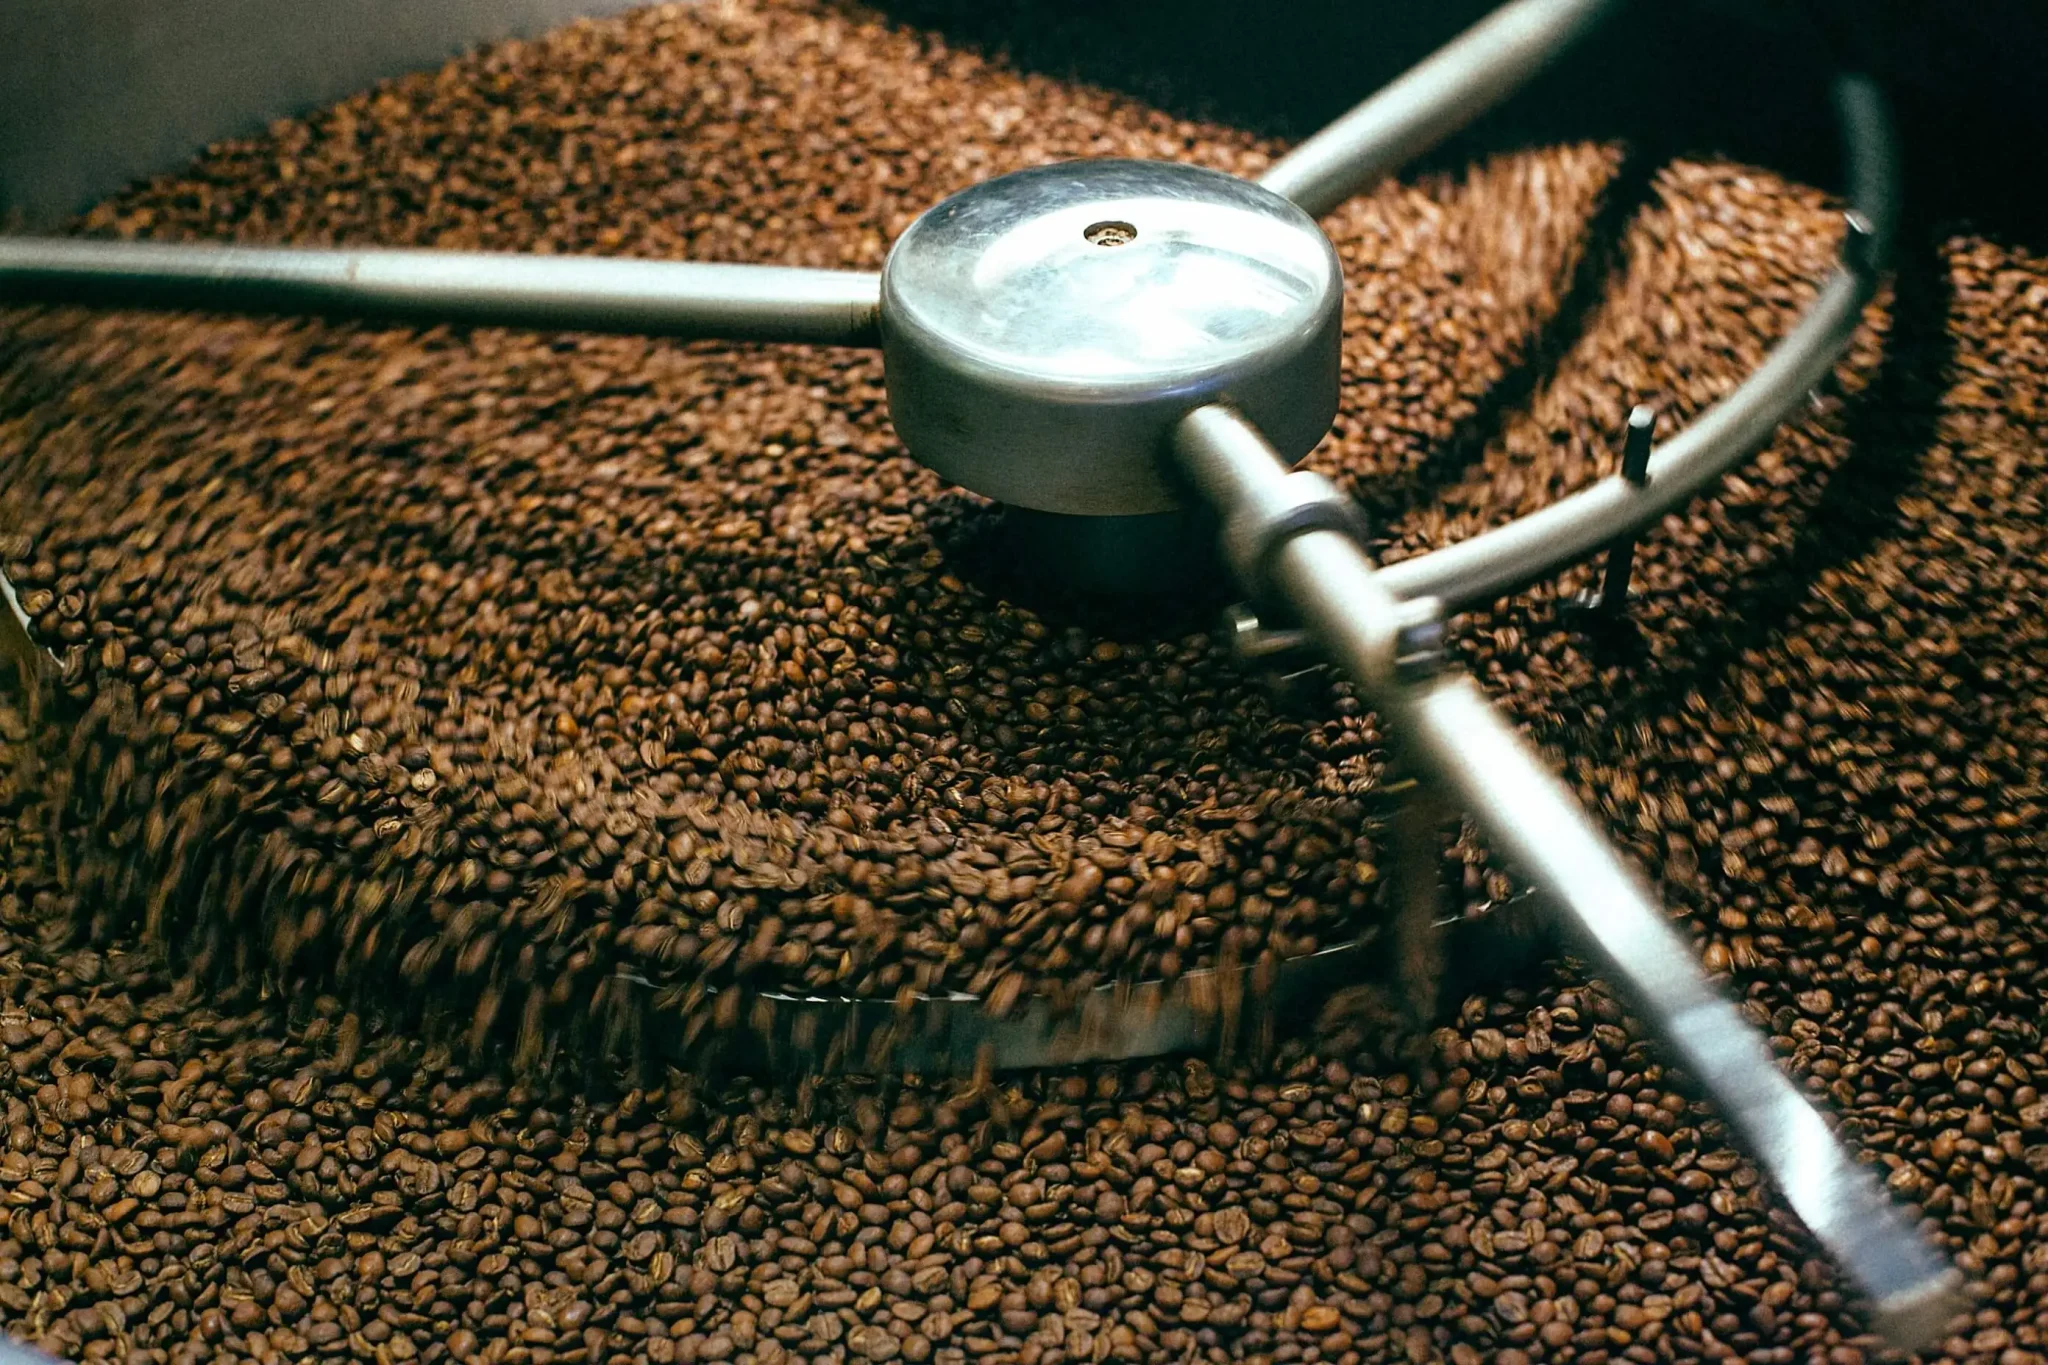
When it comes to coffee flavor, nothing beats the taste of freshly roasted beans. For the freshest cup of coffee, you might want to go the extra mile and roast your own beans at home. Fortunately, it’s easier than you might think, especially if you use a simple stovetop popcorn popper.
In this guide, we’ll show you how to perfectly roast coffee beans using a popcorn popper. Stick around for the FAQ section at the end to answer any lingering questions. Soon, you’ll be enjoying freshly roasted, aromatic beans!
Table of Contents
How to Roast Coffee Beans in a Popcorn Popper:
Ingredients:
- Green coffee beans
Equipment:
- Stovetop popcorn popper
- Stove
- Metal colander
- Good ventilation
- Thermometer (optional)
Note: Roasting coffee will produce a lot of smoke, so be sure to set up good ventilation. Turn on your stovetop fan, open windows, or even disable your smoke detector temporarily. If you have an outdoor stove or grill, that’s even better! You can also roast coffee over a campfire or on a camp stove.
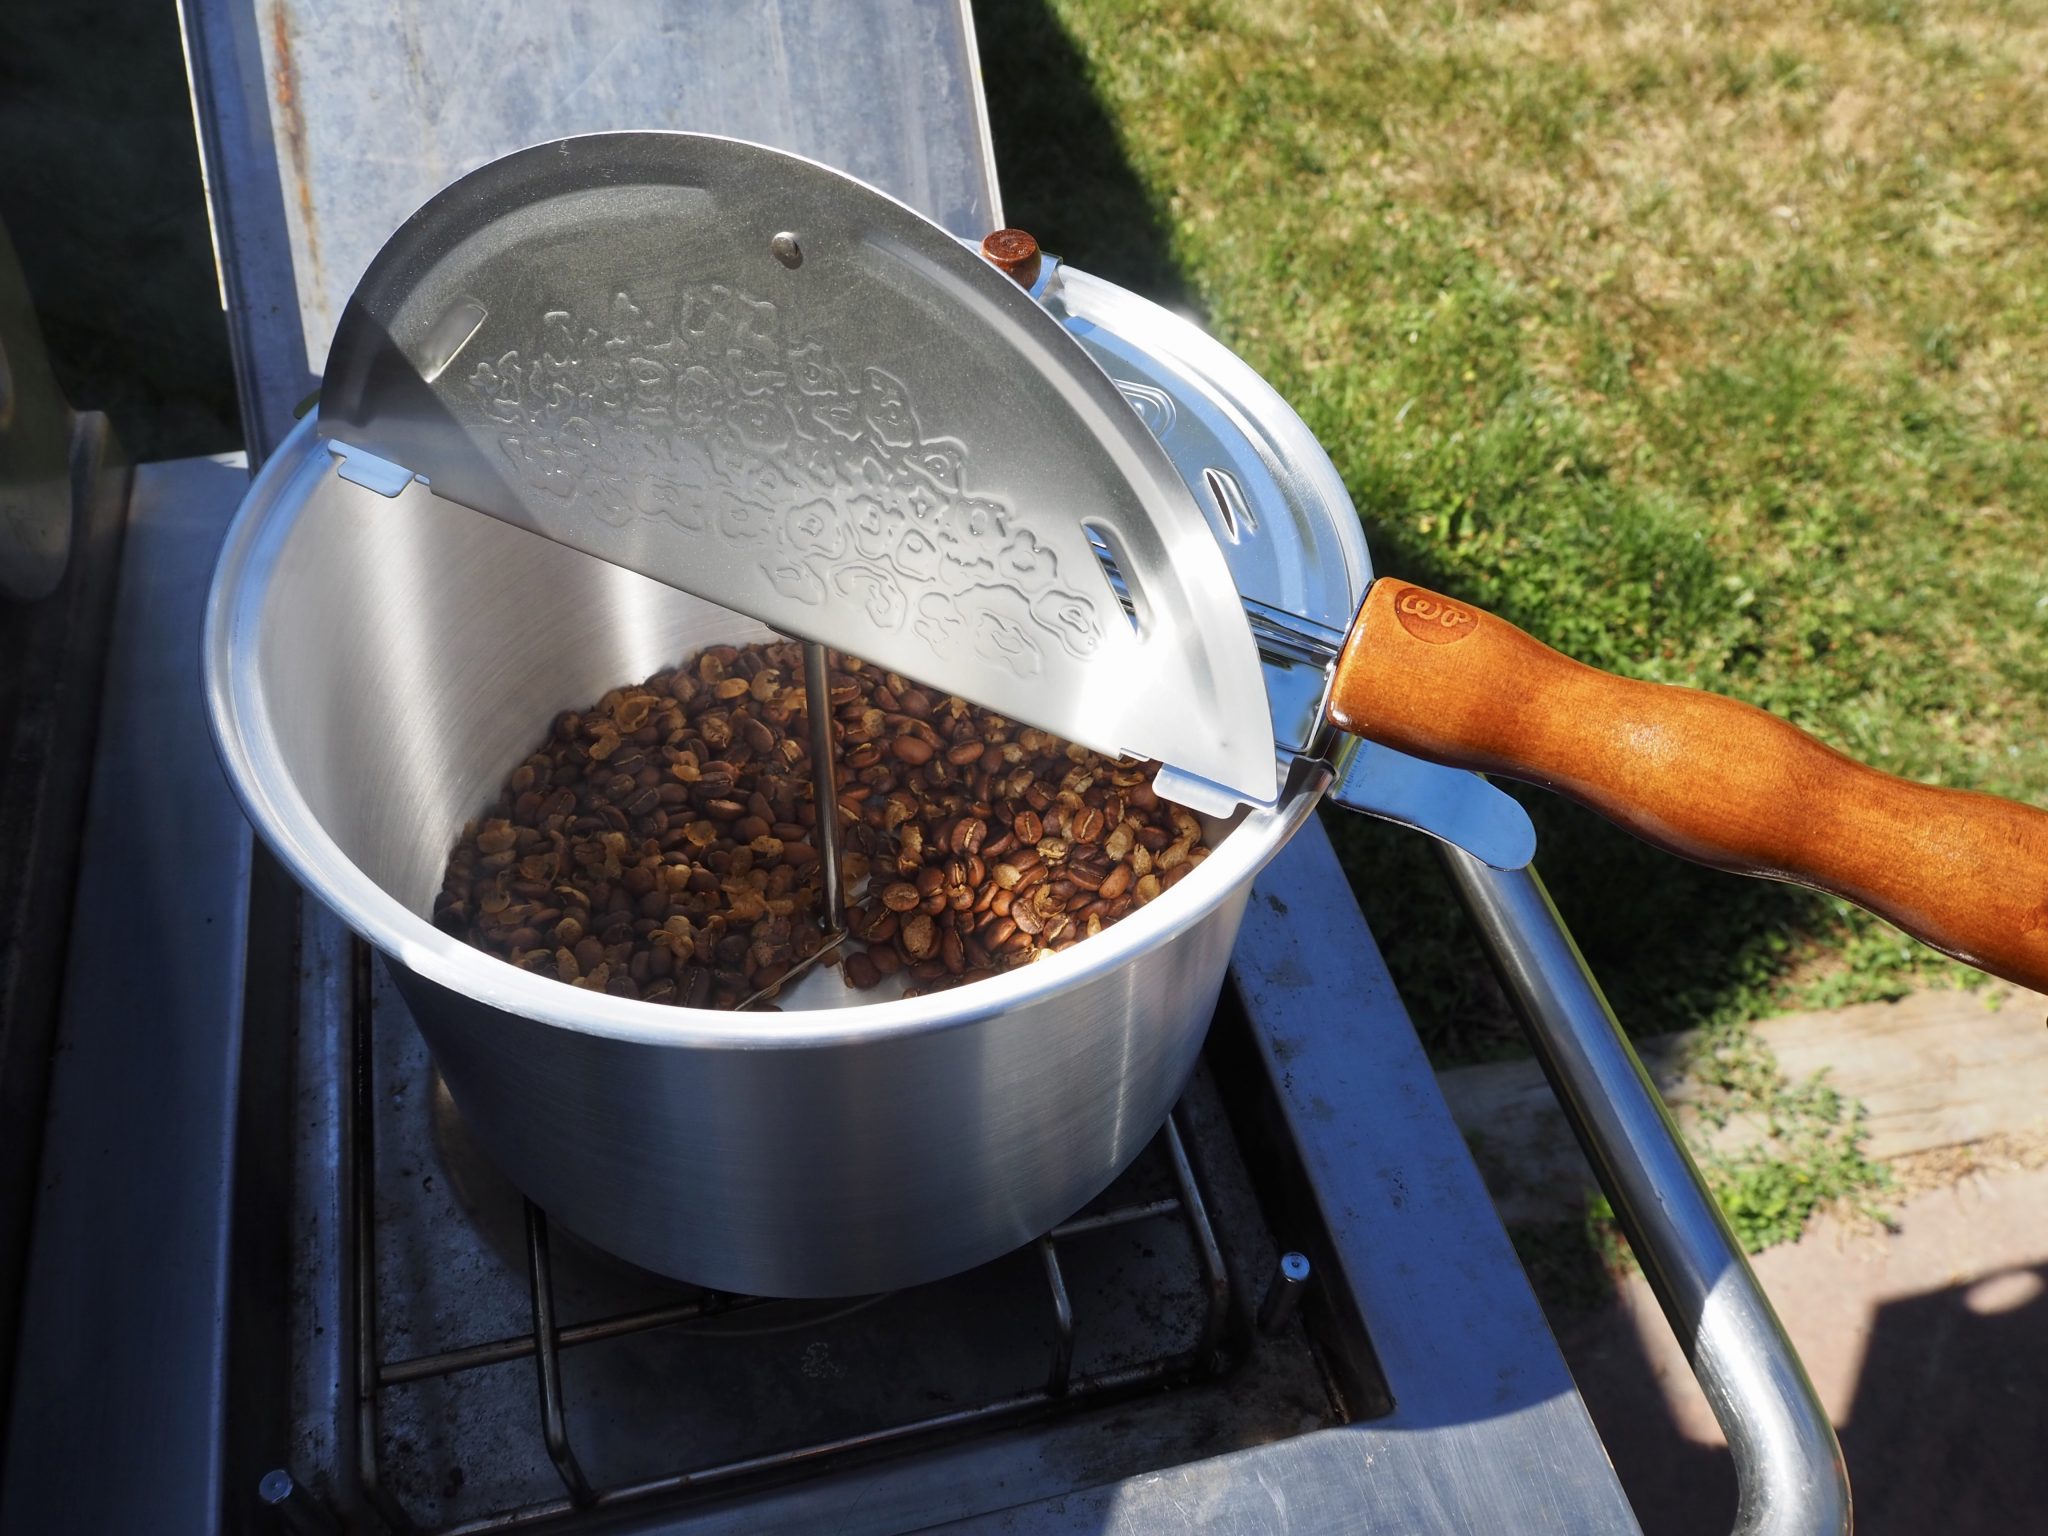
For this guide, we used an outdoor grill’s side burner. Keep in mind that using a popcorn popper for roasting coffee will void its warranty. If you don’t own a popper yet, check out our guide to the best popcorn poppers for roasting coffee.
1. Preheat
Preheat your stovetop popcorn popper over medium-low to medium heat. This method works best on a gas or propane stove, where you can quickly adjust the temperature. However, it can also work on an electric coil stove. If using a thermometer, wait until the temperature stabilizes at around 450°F.
2. Add the beans
Pour about eight ounces of green coffee beans into the popper. Shake or stir the beans to distribute them evenly across the bottom of the pot. After adding the beans, the temperature will drop to around 300°F.
3. Start roasting
Close the lid and begin turning the crank. Keep a steady, even pace throughout the roasting process to avoid burning the beans. Stirring consistently will ensure an even roast. Try to avoid opening the lid too often, as this will let heat escape.
4. First browning
After a few minutes, the beans will start to brown and give off a grassy aroma. If you’re using a thermometer, this happens around 300°F.
5. First crack
About 5-7 minutes into roasting, you’ll notice smoke and a toasty, chocolate-like aroma. You’ll also hear the first crack, which sounds similar to popcorn popping. This happens between 350°F and 370°F. Let the beans crack for a few seconds, then if you prefer a light roast, turn off the heat and skip to step eight.
6. Medium roast
For a medium roast, continue roasting for another minute or two. A medium roast will typically reach temperatures around 430°F to 440°F.
7. Second crack
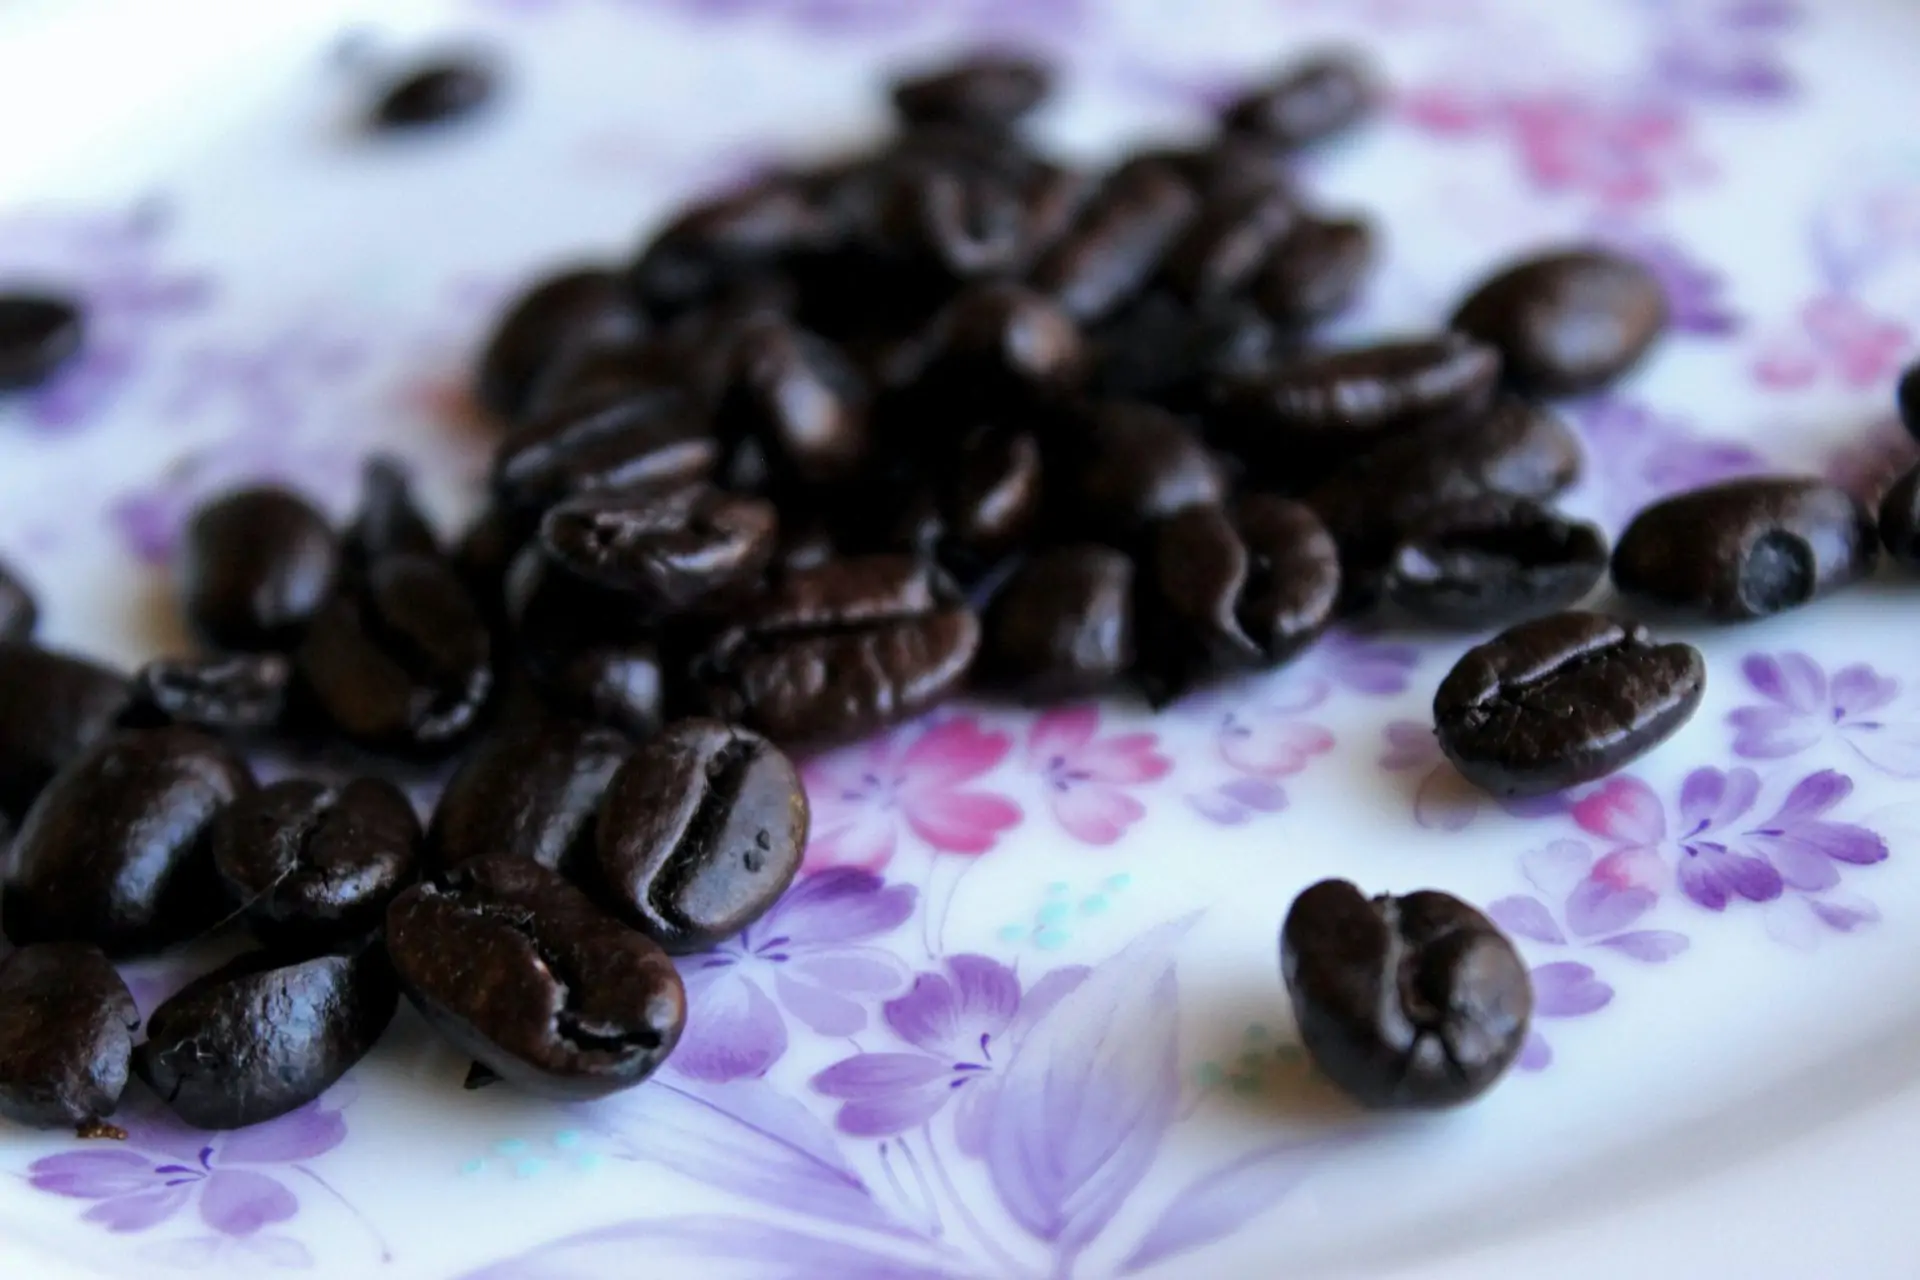
If you want a darker roast, keep roasting for a total of 7-9 minutes. Listen closely for the second crack, which sounds lighter, like an electrical spark. This happens around 450°F. Once the second crack slows down, turn off the heat and remove the pot. Remember that the beans will continue roasting slightly after being removed from the heat, so stop just before reaching your desired roast level.
8. Cooling
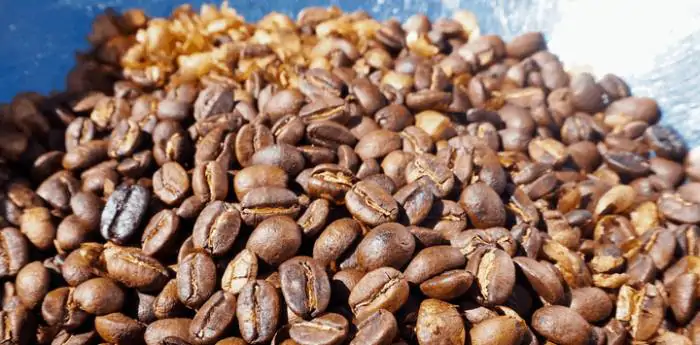
If you roasted indoors, step outside for this part. Open the lid carefully, as a lot of smoke will escape. Pour the beans into a metal colander to cool. To speed up the cooling process, pour the beans between two colanders or metal bowls. The chaff (the outer skin of the beans) will fall off at this point, so you can separate it by blowing on the beans or tossing them between colanders.
9. Enjoy your coffee!
Savor the freshness of your aromatic, home-roasted beans! While it’s tempting to brew them immediately, freshly roasted beans reach their peak flavor between 12 and 24 hours after roasting. To preserve their freshness, store the beans in an airtight container away from sunlight, but leave the lid off for the first day to allow the beans to off-gas.
Roasting Coffee Beans at Home: FAQ
What are the benefits of home roasting?
Green coffee beans can be stored for months without losing flavor. However, once roasted, beans start to lose their freshness as they interact with oxygen. For the richest and most complex flavor, it’s best to brew your beans within one to two weeks of roasting.
By roasting your beans at home, you ensure they’re incredibly fresh. Be warned, though: once you experience the taste of freshly roasted coffee, you may never want to go back to store-bought varieties. Coffee roasted in a popcorn popper has a smooth, full-bodied flavor with low acidity, and you’ll be surprised by the size of the bloom!
Home roasting can also save you money. You can purchase green coffee beans in bulk at a lower price and, with a little practice, roast gourmet-quality beans for a fraction of the cost.
Lastly, home roasting allows you to have complete control over your coffee’s flavor. You can choose a variety of green beans and roast them to your exact preference.
Where can I buy green coffee beans?
Now that you’ve learned how and why to roast coffee beans using a popcorn popper, you might be wondering where to find green coffee beans. Unfortunately, they can be a bit harder to find than roasted beans, as they are typically sold in bulk to commercial coffee roasters.
The easiest option is to purchase green coffee beans online from vendors like Sweet Maria’s or other specialty websites. Check out our guide to buying green coffee beans for more information!
If you prefer to shop in person, it may be challenging to find high-quality green beans at your local grocery store. However, if your neighborhood coffee shop roasts its beans, you can ask if they sell green beans.
How else can I roast beans at home?
While stovetop popcorn poppers are ideal for coffee roasting due to their built-in stirring mechanisms and lids, there are other methods you can try. Air popcorn poppers are another option, as they use a fan to keep the beans moving during roasting.
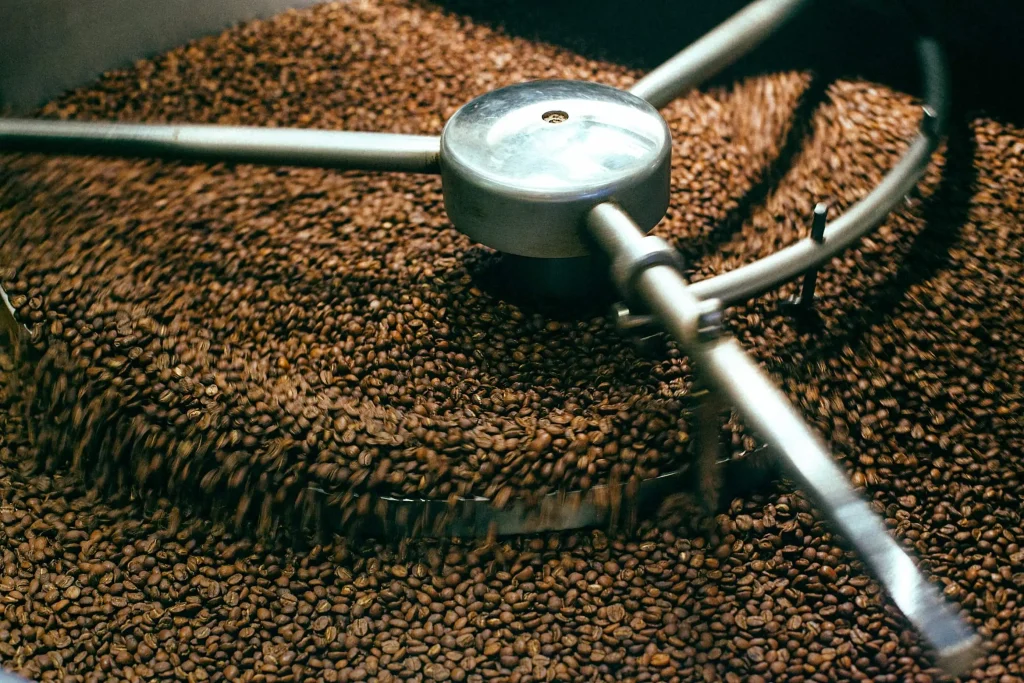
Alternatively, you can roast coffee beans in a pan, an oven, or even invest in a dedicated home coffee roaster. We’ve created a guide to the three main home roasting methods for you to explore.
Conclusion
Roasting coffee at home using a stovetop popcorn popper is surprisingly simple. In just 10 minutes, you can create aromatic, freshly roasted beans. We hope this guide has helped you learn how to roast coffee beans at home. But don’t say we didn’t warn you — after tasting your own freshly roasted beans, it’ll be hard to go back to store-bought coffee!

