Coffeo Couch is reader-supported. If you buy through links on our site, we may earn a small affiliate commission at no extra cost. Learn more.
How to Brew AeroPress Coffee Perfectly (With Pictures)
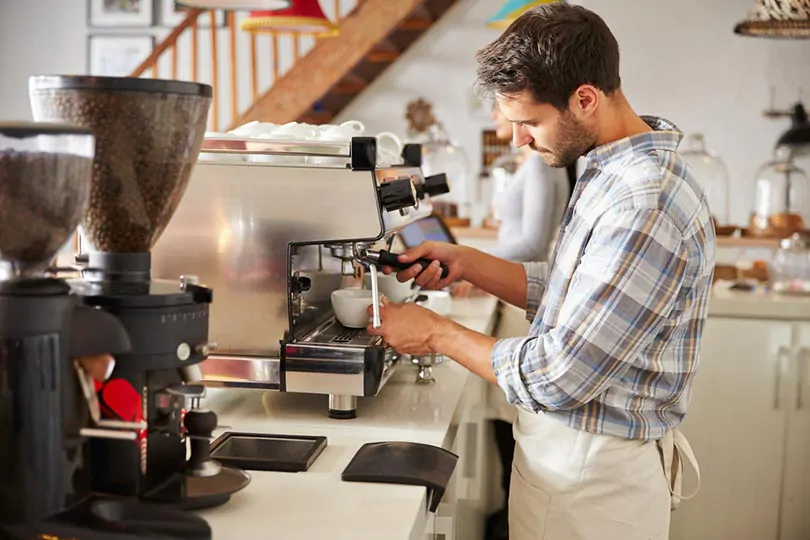
If you own an AeroPress, you’re about to discover how to elevate your coffee game. This compact and portable coffee maker is designed to brew small yet flavorful cups of espresso-like coffee. However, achieving the perfect cup requires some technique, and that’s where we come in!
In this guide, we’ll walk you through the step-by-step process of brewing exceptional AeroPress coffee. Plus, we’ll share some tips for tweaking your brew to suit your taste. Ready to make the best AeroPress coffee? Let’s get started.
SEE ALSO: The Best Coffee Beans for AeroPress

Table of Contents
What You’ll Need
Ingredients:
- Fresh coffee beans
- Filtered water
Equipment:
- AeroPress (with filters)
- Timer
- Coffee grinder
- Kettle
- Coffee cup
- Stirring stick
- Digital scale (optional)

AeroPress Instructions
1. Prepare your coffee and water.
Begin by bringing about 7 ounces of water to a boil. If your kettle has a temperature gauge, aim for around 200°F. If not, let the water cool for a minute or two after boiling to reach the ideal temperature. Use approximately 15-16 grams (one rounded scoop) of coffee per 7 ounces of water, and grind your coffee to a medium-fine consistency.
2. Rinse your filter.

Place the filter in the AeroPress cap and pour hot water over it to rinse. Discard the rinse water. Then, attach the filter cap to the brewing chamber.
3. Set up the brewing chamber and add coffee grounds.

Position the brewing chamber on a cup or heat-safe container. Carefully add the coffee grounds, ensuring none spill on the seal.
4. Start the timer and add a little water.
Start your timer and pour about an ounce of water over the grounds in a circular motion. Ensure the grounds are evenly covered and let the coffee bloom for 30 seconds.
5. Pour in the remaining water.

Pour water into the chamber until it reaches the fourth line. Stir the mixture 10 times, then let it sit for two minutes.
6. Attach the plunger and carefully push it down.

Slowly and steadily push the plunger down. You’ll feel about 30 pounds of pressure, so it should take some effort. Push until you hear a hissing sound, indicating that all the water has passed through.
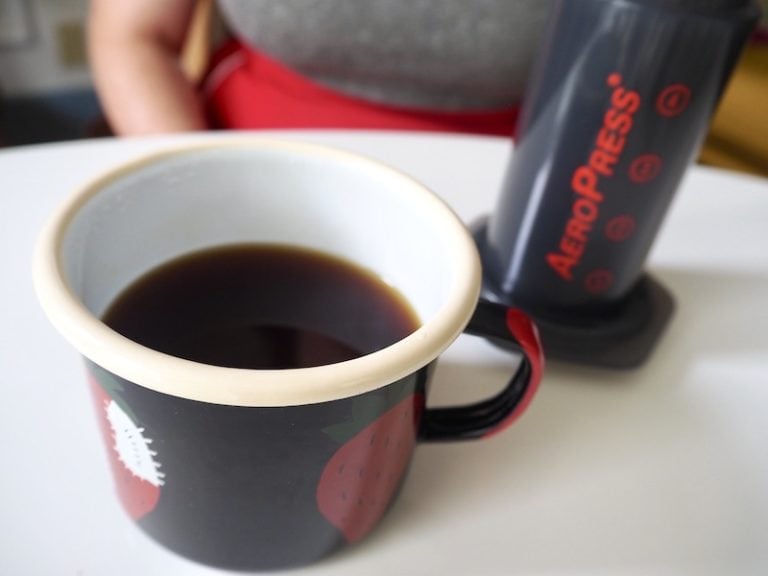
7. Enjoy!

Your coffee is ready! Drink it black, or add hot water for an Americano or hot milk for a latte. Want iced coffee? Just pour your brew over ice.

Delicious AeroPress Recipe Variations
Now that you’ve mastered the basics, it’s time to explore. With the AeroPress, your coffee’s flavor is influenced by three key factors: coffee, water, and time. Adjust any of these, and you’ll create a different taste experience.
Coffee Beans & Grind Size
The type of coffee beans and grind size you use will significantly impact your brew. Experiment with different roast levels and grind sizes to find your preferred flavor profile. Dark roasts are popular for their bold, espresso-like flavor, but you can try any coffee beans you like. Remember, the shorter the brew time, the finer the grind should be.
SEE ALSO: The Ultimate Coffee Grind Size Chart
Water Temperature
Water temperature is crucial in AeroPress brewing. While the official instructions recommend 175°F, many experts prefer using hotter water. Try adjusting the temperature to see how it affects your coffee’s taste.

AeroPress Ratio
The ratio of coffee to water is essential in any brewing method, including the AeroPress. Start with one rounded scoop (15-16 grams) of ground coffee per 7 ounces of water, and adjust according to your taste preferences.
AeroPress Brew Time
How long should you steep your coffee in an AeroPress? This is a hotly debated topic. Steep times can range from one to three minutes, depending on your grind size. If you like strong, dark coffee, let it steep for three minutes. If it’s too strong, reduce the brew time until you find the perfect balance.
Upside Down or Right Side Up?
You can also experiment with how you position your AeroPress. The traditional method involves placing the brew chamber on your cup with the filter cap at the bottom. Alternatively, you can try the “inverted” method, where you assemble the AeroPress upside down, brew the coffee, and then flip it onto your cup before plunging.

The Competition
Once you’ve perfected your AeroPress recipe, why not test it in the World AeroPress Competition? Participants have just a few minutes to brew a cup, which is then blind-tasted by judges. Each year’s winner uses a unique recipe, highlighting the endless possibilities with AeroPress.
You can find winning recipes from past competitions on the WAC website.
Time to Brew
Now it’s your turn to experiment with your AeroPress. This coffee maker is beloved for two main reasons: the high-quality coffee it produces and the countless brewing methods you can explore. So, grab your AeroPress and let your creativity flow!