How To Roast Coffee Beans at Home
Embarking on the “How to Roast Coffee Beans at Home” journey at home can be both enjoyable and fulfilling. Not only does it allow you to experiment with diverse roast levels, but it also grants you the pleasure of savoring the freshest coffee imaginable.
There are several methods for roasting coffee at home, each with unique pros and cons. Whether you’re using a popcorn popper, a pan, an oven, or a dedicated coffee roaster, the key is understanding the process and the equipment you’ll need.
This blog post will explore four different methods for roasting coffee at home and provide a step-by-step guide on using each method.
We’ll also provide tips and tricks to help you consistently achieve the perfect roast. Whether you’re a coffee fan or just looking to try something new, roasting your coffee is a fun and satisfying way to elevate your coffee game.
Table of Contents
Essentials for Roasting Coffee at Home
Before embarking on your home coffee roasting journey, it’s essential to have a basic understanding of coffee and the roasting process. Acquiring these four critical pieces of information will help you fully grasp what you’re about to undertake. Once you have this foundation, we can dive into each method’s techniques and step-by-step instructions for how to roast your own coffee beans at home. This will ensure you know to achieve the perfect roast every time.
Ventilation
Proper ventilation is essential when roasting coffee at home. The roasting process generates smoke, so it’s crucial to have a way to ventilate the room properly. A great solution is to use the fan on your oven or open a window to allow for the smoke to escape. By preparing for ventilation in advance, you’ll be able to handle the smoke more quickly and ensure that your coffee roasting experience is enjoyable.
Roast Level
The roast level is an essential factor to consider when roasting coffee. The roast level will affect the flavor and aroma of the coffee, and different roast levels are best suited for other brewing methods. Understanding the various roast levels and how they affect the coffee will help you to achieve the perfect roast every time. To deepen your understanding of roast levels, our article, “4 Main Types of Coffee Roasts”, provides a comprehensive overview.
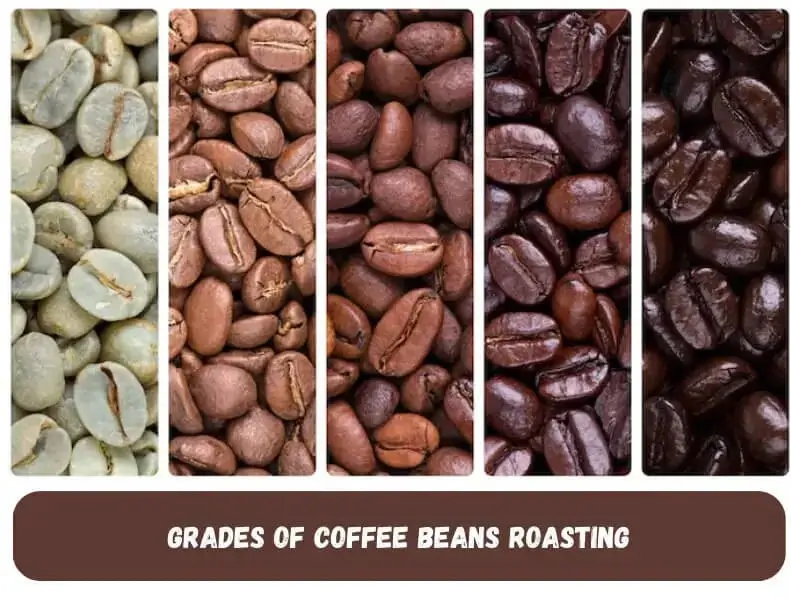
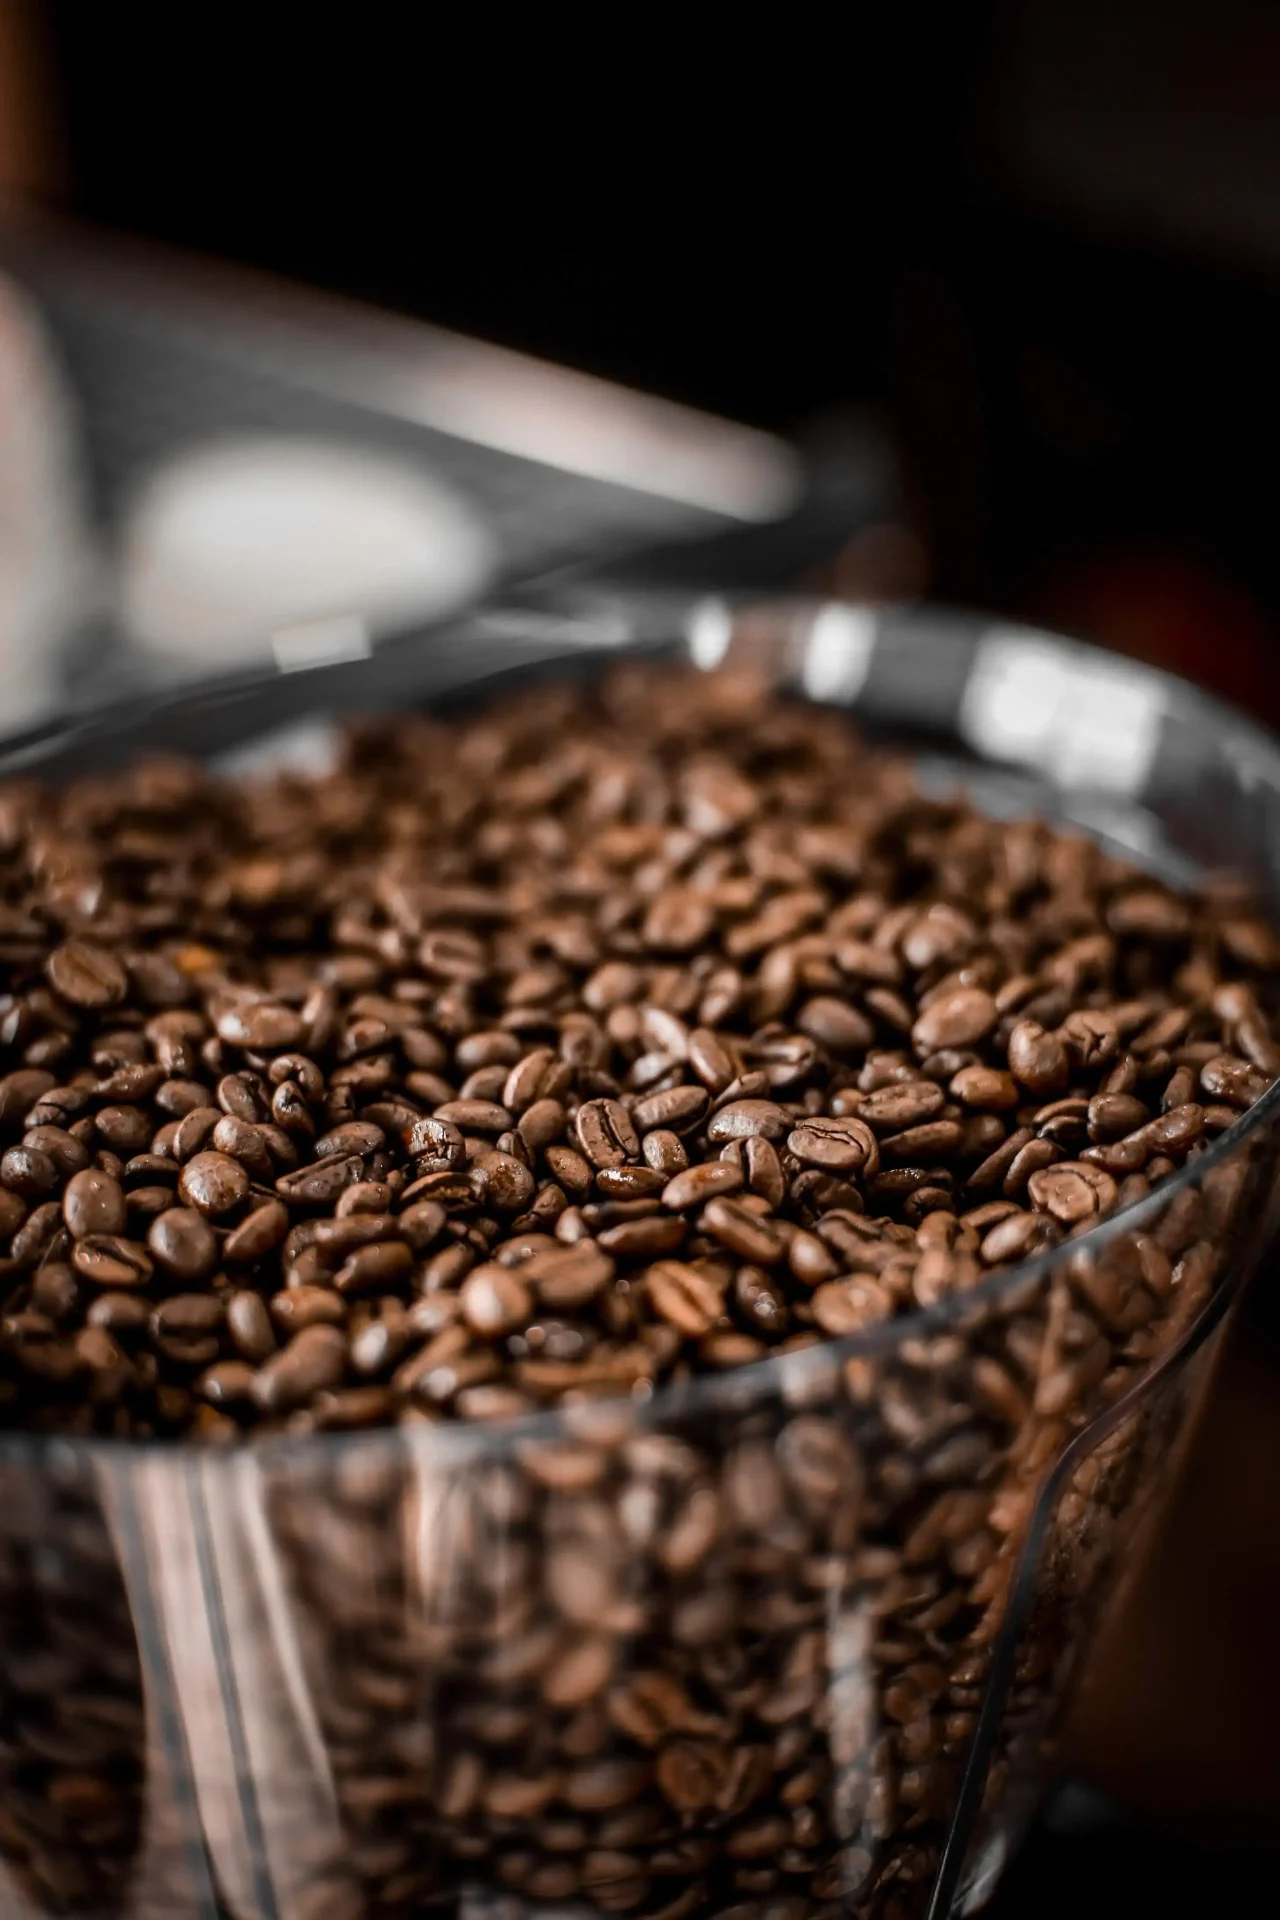
When roasting coffee beans at home, paying attention to the color changes and cracks during the process is essential. The beans will start green, then turn yellow, light brown, golden brown, and dark brown. You will also hear the beans cracking, the first crack indicating a light roast and the second crack showing a medium-dark to dark roast. Removing the beans from the heat source shortly after the second crack is essential as they will develop a smoky flavor similar to charcoal if left for too long. Remember that the beans will continue to cook even after you take them off the heat source, and keep this in mind when timing your roast for your desired flavor profile.
Chaff
Chaff is the dry outer layer of the coffee bean. It can create a mess. Cleaning the chaff is a crucial step in roasting and should be done right after the roasting process. So to minimize the cleanup, consider cooling your beans outside or over the sink using a colander or bowl. If you find chaff sticking to the beans, shake the colander more vigorously. This will cause most of it to come off. Consider using a dedicated coffee roaster with a chaff collector to keep the process clean.
Storage
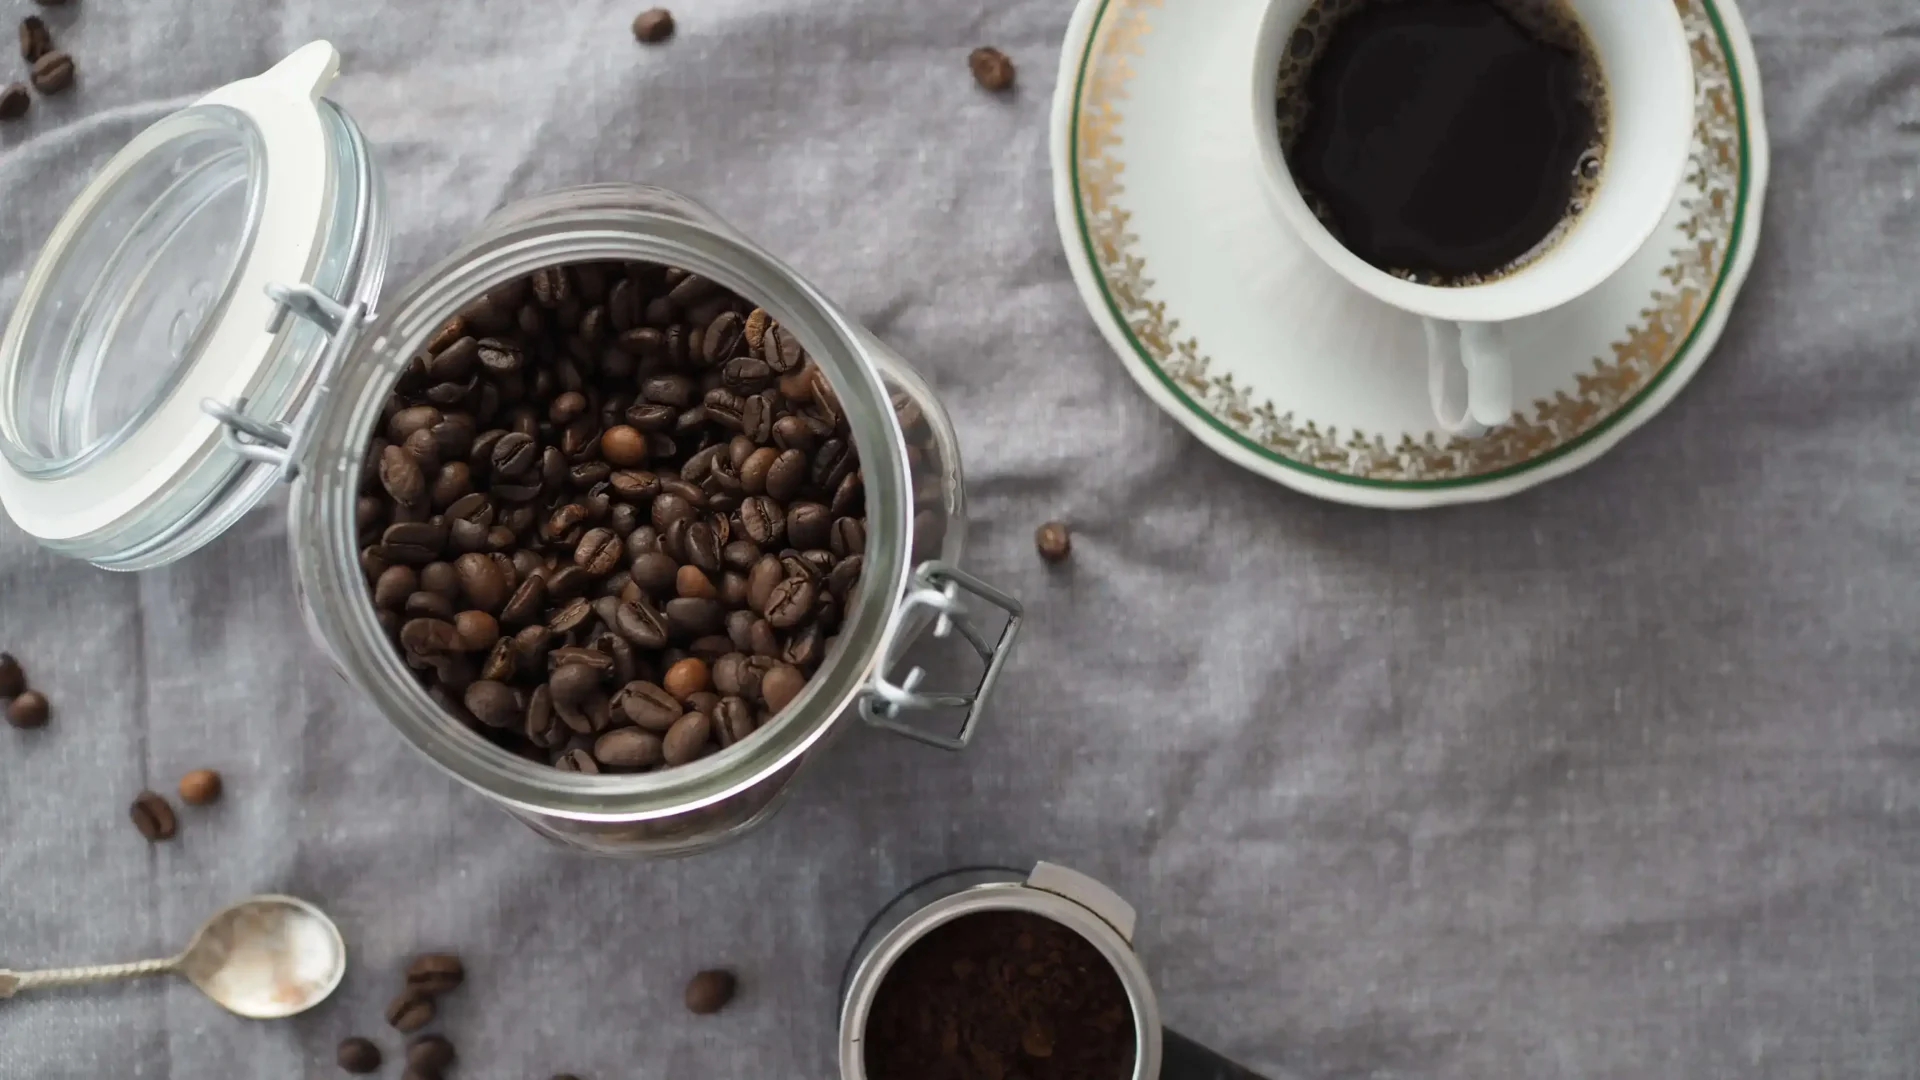
Proper storage is essential to preserving the freshness and flavor of coffee beans. After roasting, the coffee should be stored in an airtight container in a cool, dry place. Avoiding exposure to light, air, and moisture will help to preserve the coffee’s freshness, aroma, and flavor. Using a dedicated container for coffee storage and using the roasted coffee within a month is recommended for optimal taste.
Method
First Method: Pan Roasting
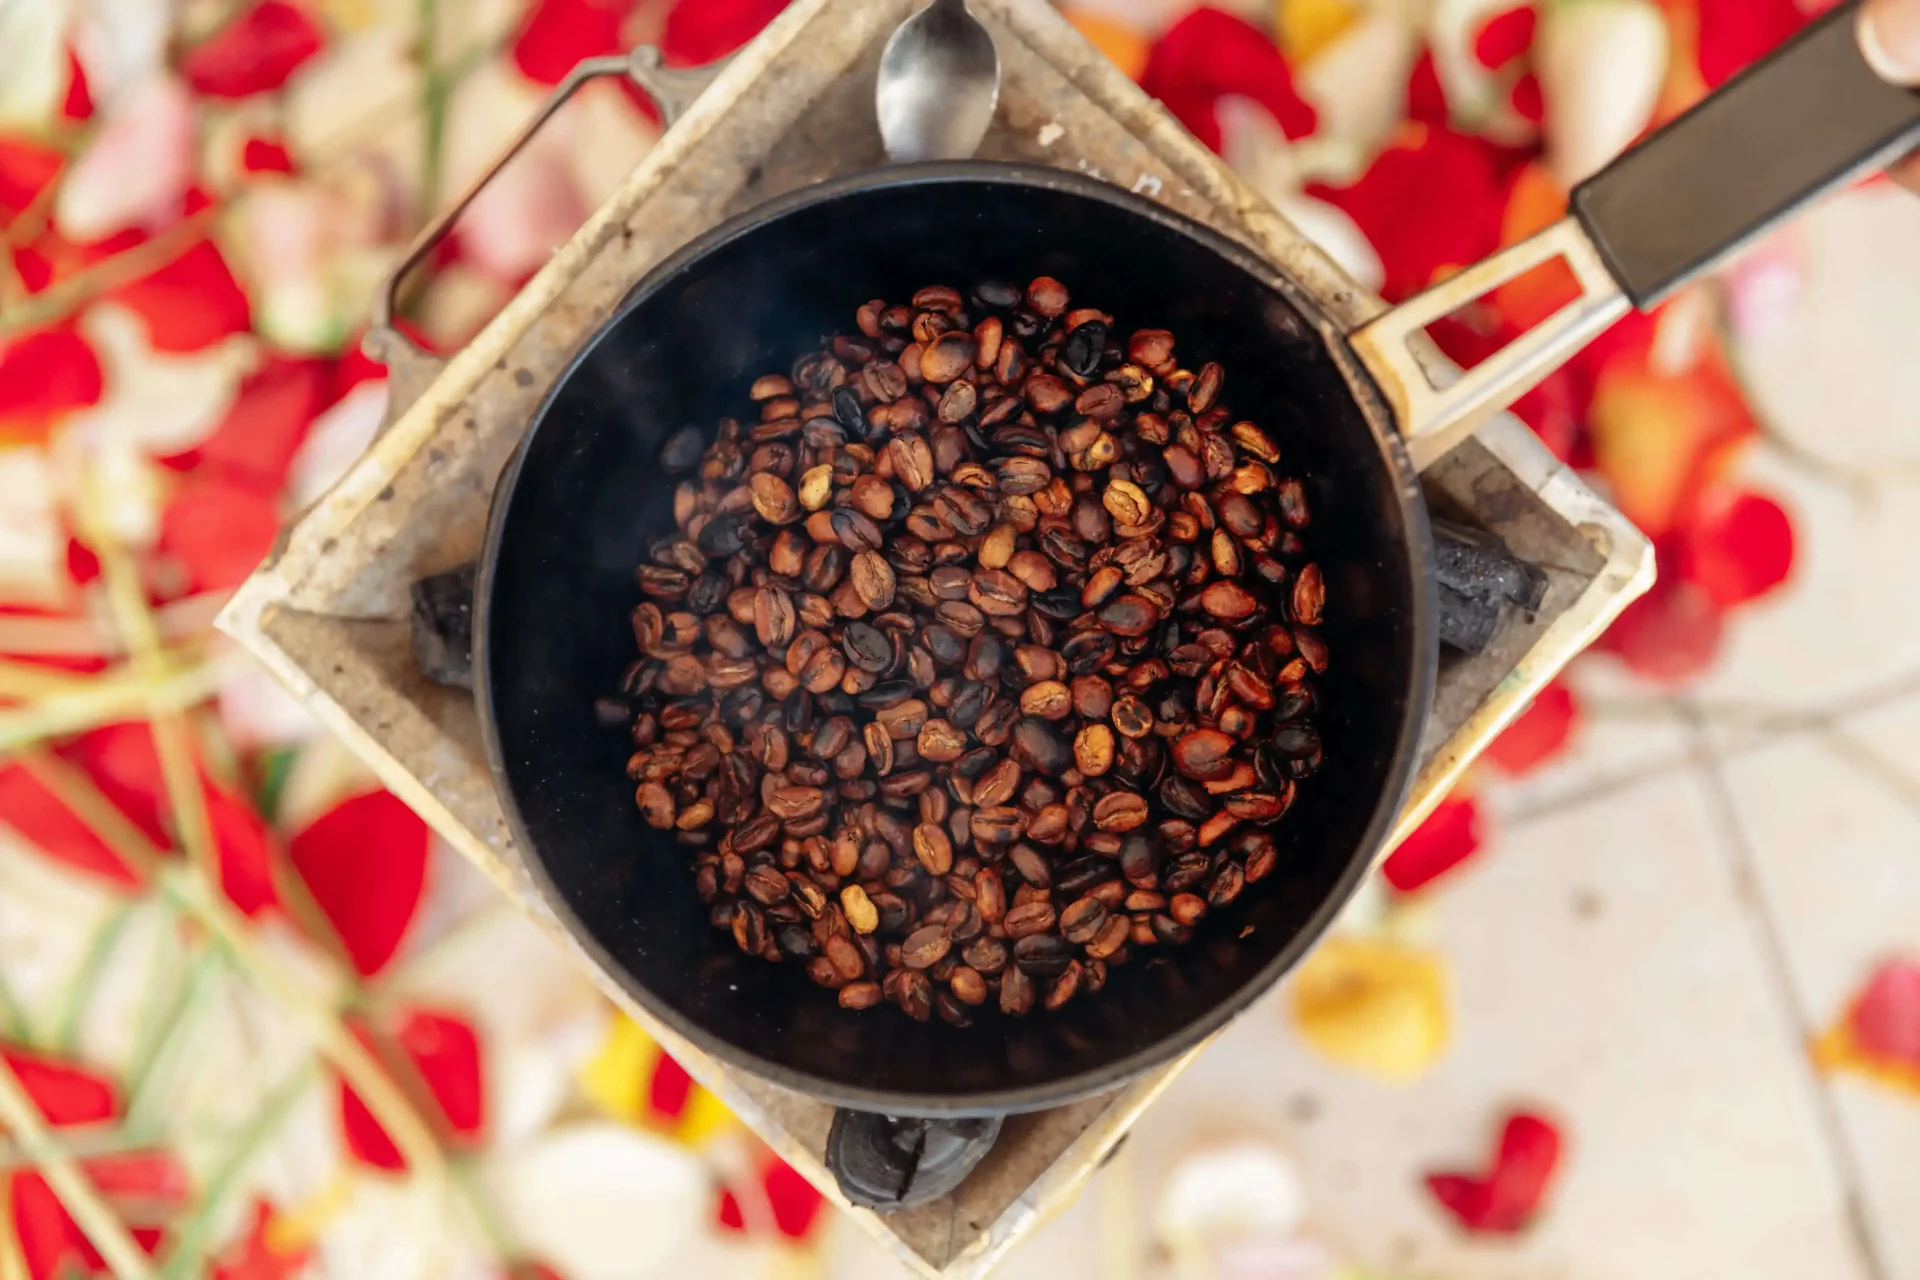
Pan roasting is a simple and affordable method for roasting coffee at home. It involves using a skillet or a pan to heat the green coffee beans. The beans are placed in the pan and heated over medium-high heat, constantly stirring to ensure even roasting. This method is best suited for small batches of coffee and allows for greater control over the roast level.
One of the advantages of pan roasting is that it is a simple and affordable method that can be done with essential kitchen equipment. It also allows for greater control over the roast level, as you can easily monitor the beans and remove them from the heat as soon as they reach the desired roast level. The downside of pan roasting is that it can be time-consuming, and the beans can be challenging to stir evenly.
To pan-roast coffee, you will need
- Green coffee beans
- Pan or a skillet
- Spatula
- Hot plate/Grill (gas is preferred)
- Heatproof mitts
- Thermometer
- Timer
- Cooling tray
- Airtight storage container
Start by heating the skillet or pan over medium-high heat, and add the green coffee beans. Stir the beans constantly by using a spatula to ensure even roasting. As the beans heat up, they will begin to change color, and the temperature will increase. Keep a close eye on the temperature, and when the beans reach the desired roast level, remove them from the heat and transfer them to a cooling tray. Allow the beans to cool completely before storing them in an airtight container.
PROS
- Fast & convenient
- No need for additional purchases
CONS
- Difficult to get the correct temperature
- Very smoky
At a Glance
Roasting time:
15 min + 12 hours
Roast Coffee Beans in Oven:
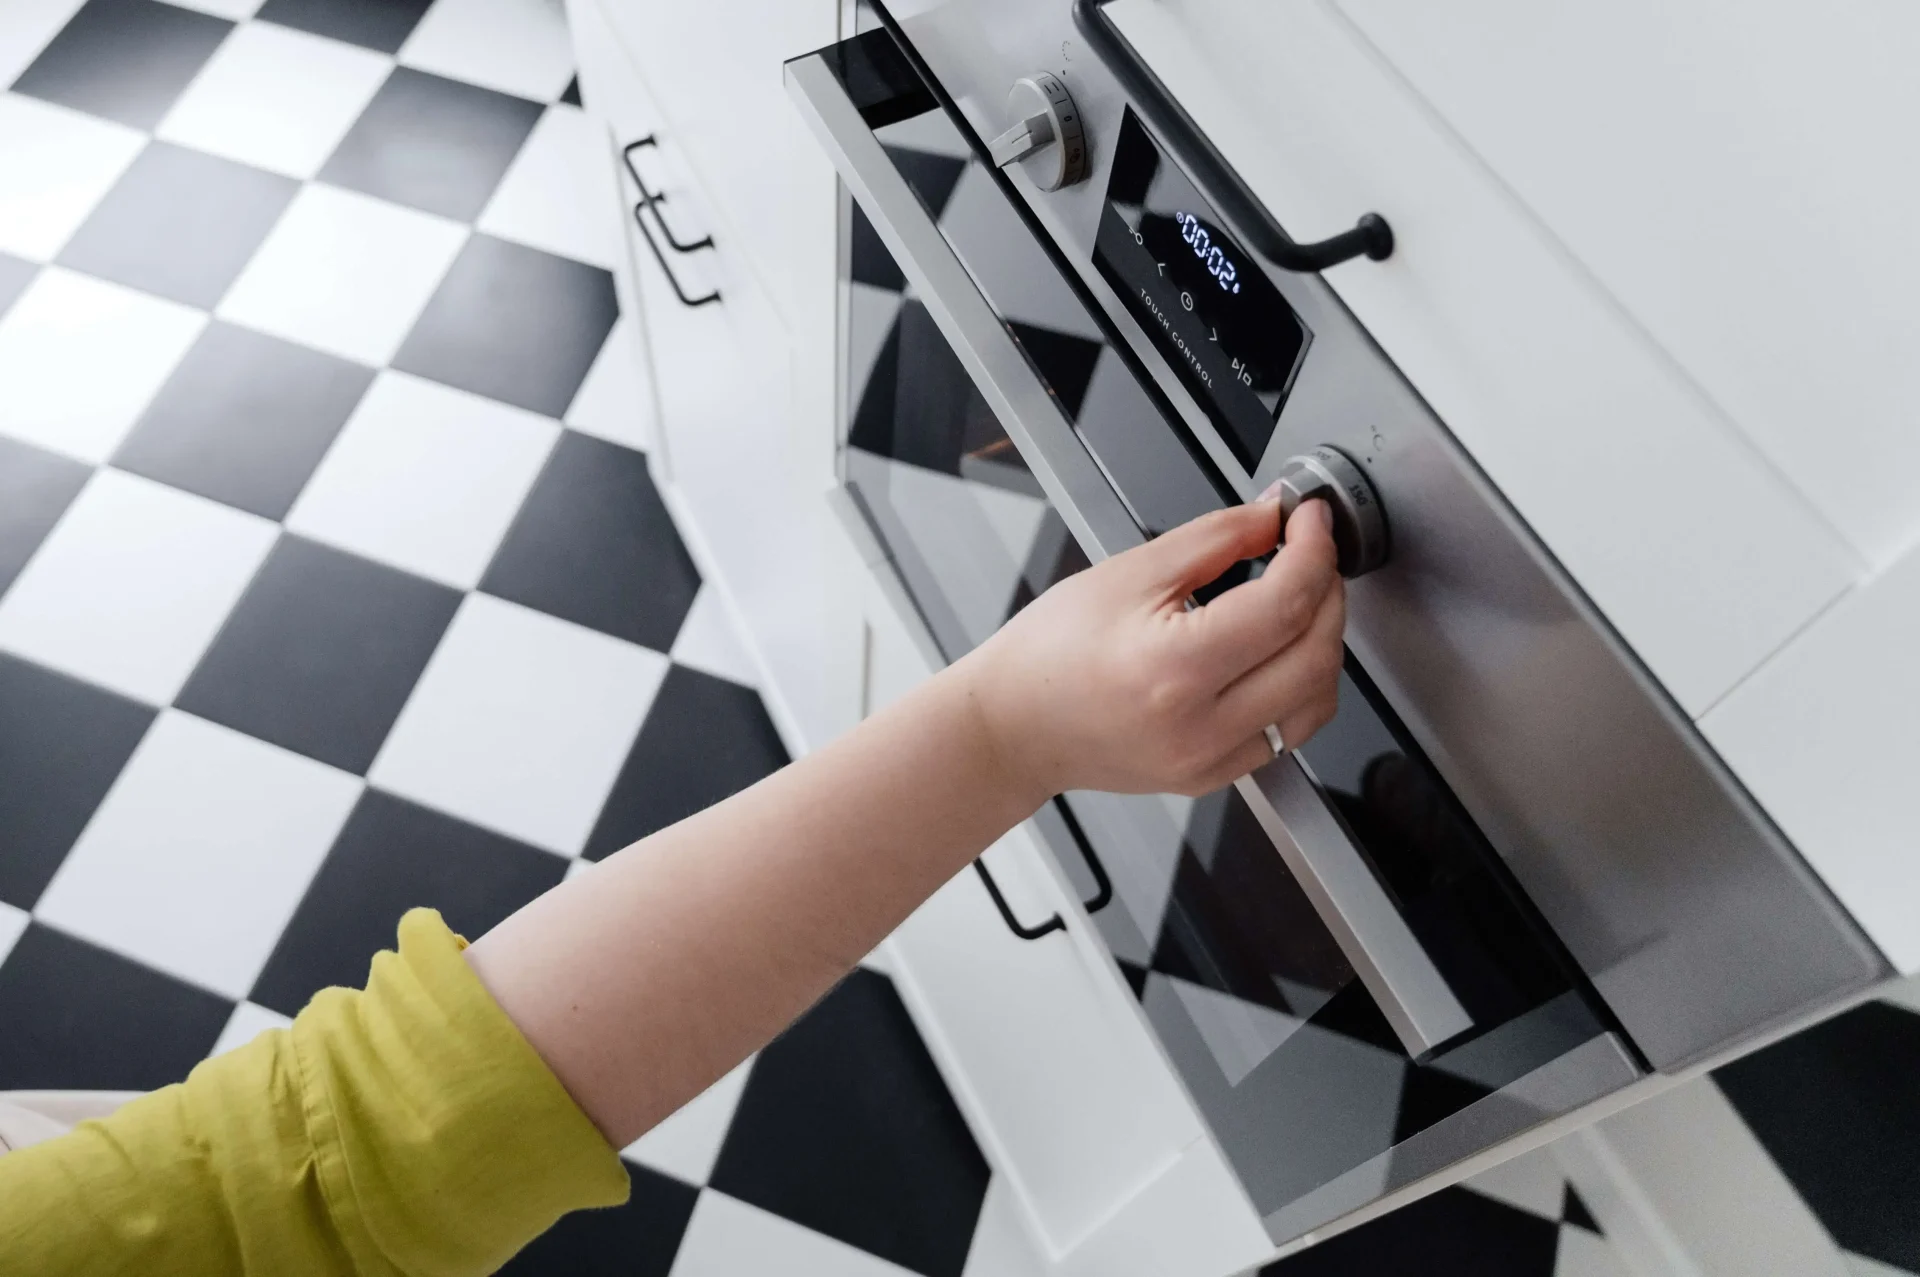
Roasting coffee in the oven is another simple method at home. It involves using a conventional range to roast green coffee beans. The beans are placed in a baking tray and heated in the oven at a high temperature. This method is best suited for small to medium-sized batches of coffee and allows for even roasting.
One of the advantages of roasting coffee in the oven is that it is a simple and affordable method that can be done with basic kitchen equipment. It also allows for even roasting, as the beans are spread out in a single layer on the baking tray and heated evenly. The downside of roasting coffee in the oven is that monitoring the roast level and removing the beans from the heat at the perfect time can be challenging.
To roast coffee in the oven, you will need
- Green coffee beans,
- An oven
- Baking tray
- Oven mitts
- Colander
- Airtight storage container
Preheat the oven to 450°F. Spread the green coffee beans in a single layer on the baking tray and place them in the oven. Roast the beans for about 15-20 minutes or until they reach the desired roast level. Keep a close eye on the temperature, and when the beans reach the desired roast level, remove them from the oven and transfer them to a cooling tray. Allow the beans to cool completely before storing them in an airtight container.
PROS
- No need for additional purchases
CONS
- Slower than other methods
- Difficult to get a perfect roast
- Very smoky
At a Glance
Roasting time:
15-20 min + 12 hours
Third Method: Popcorn Popper
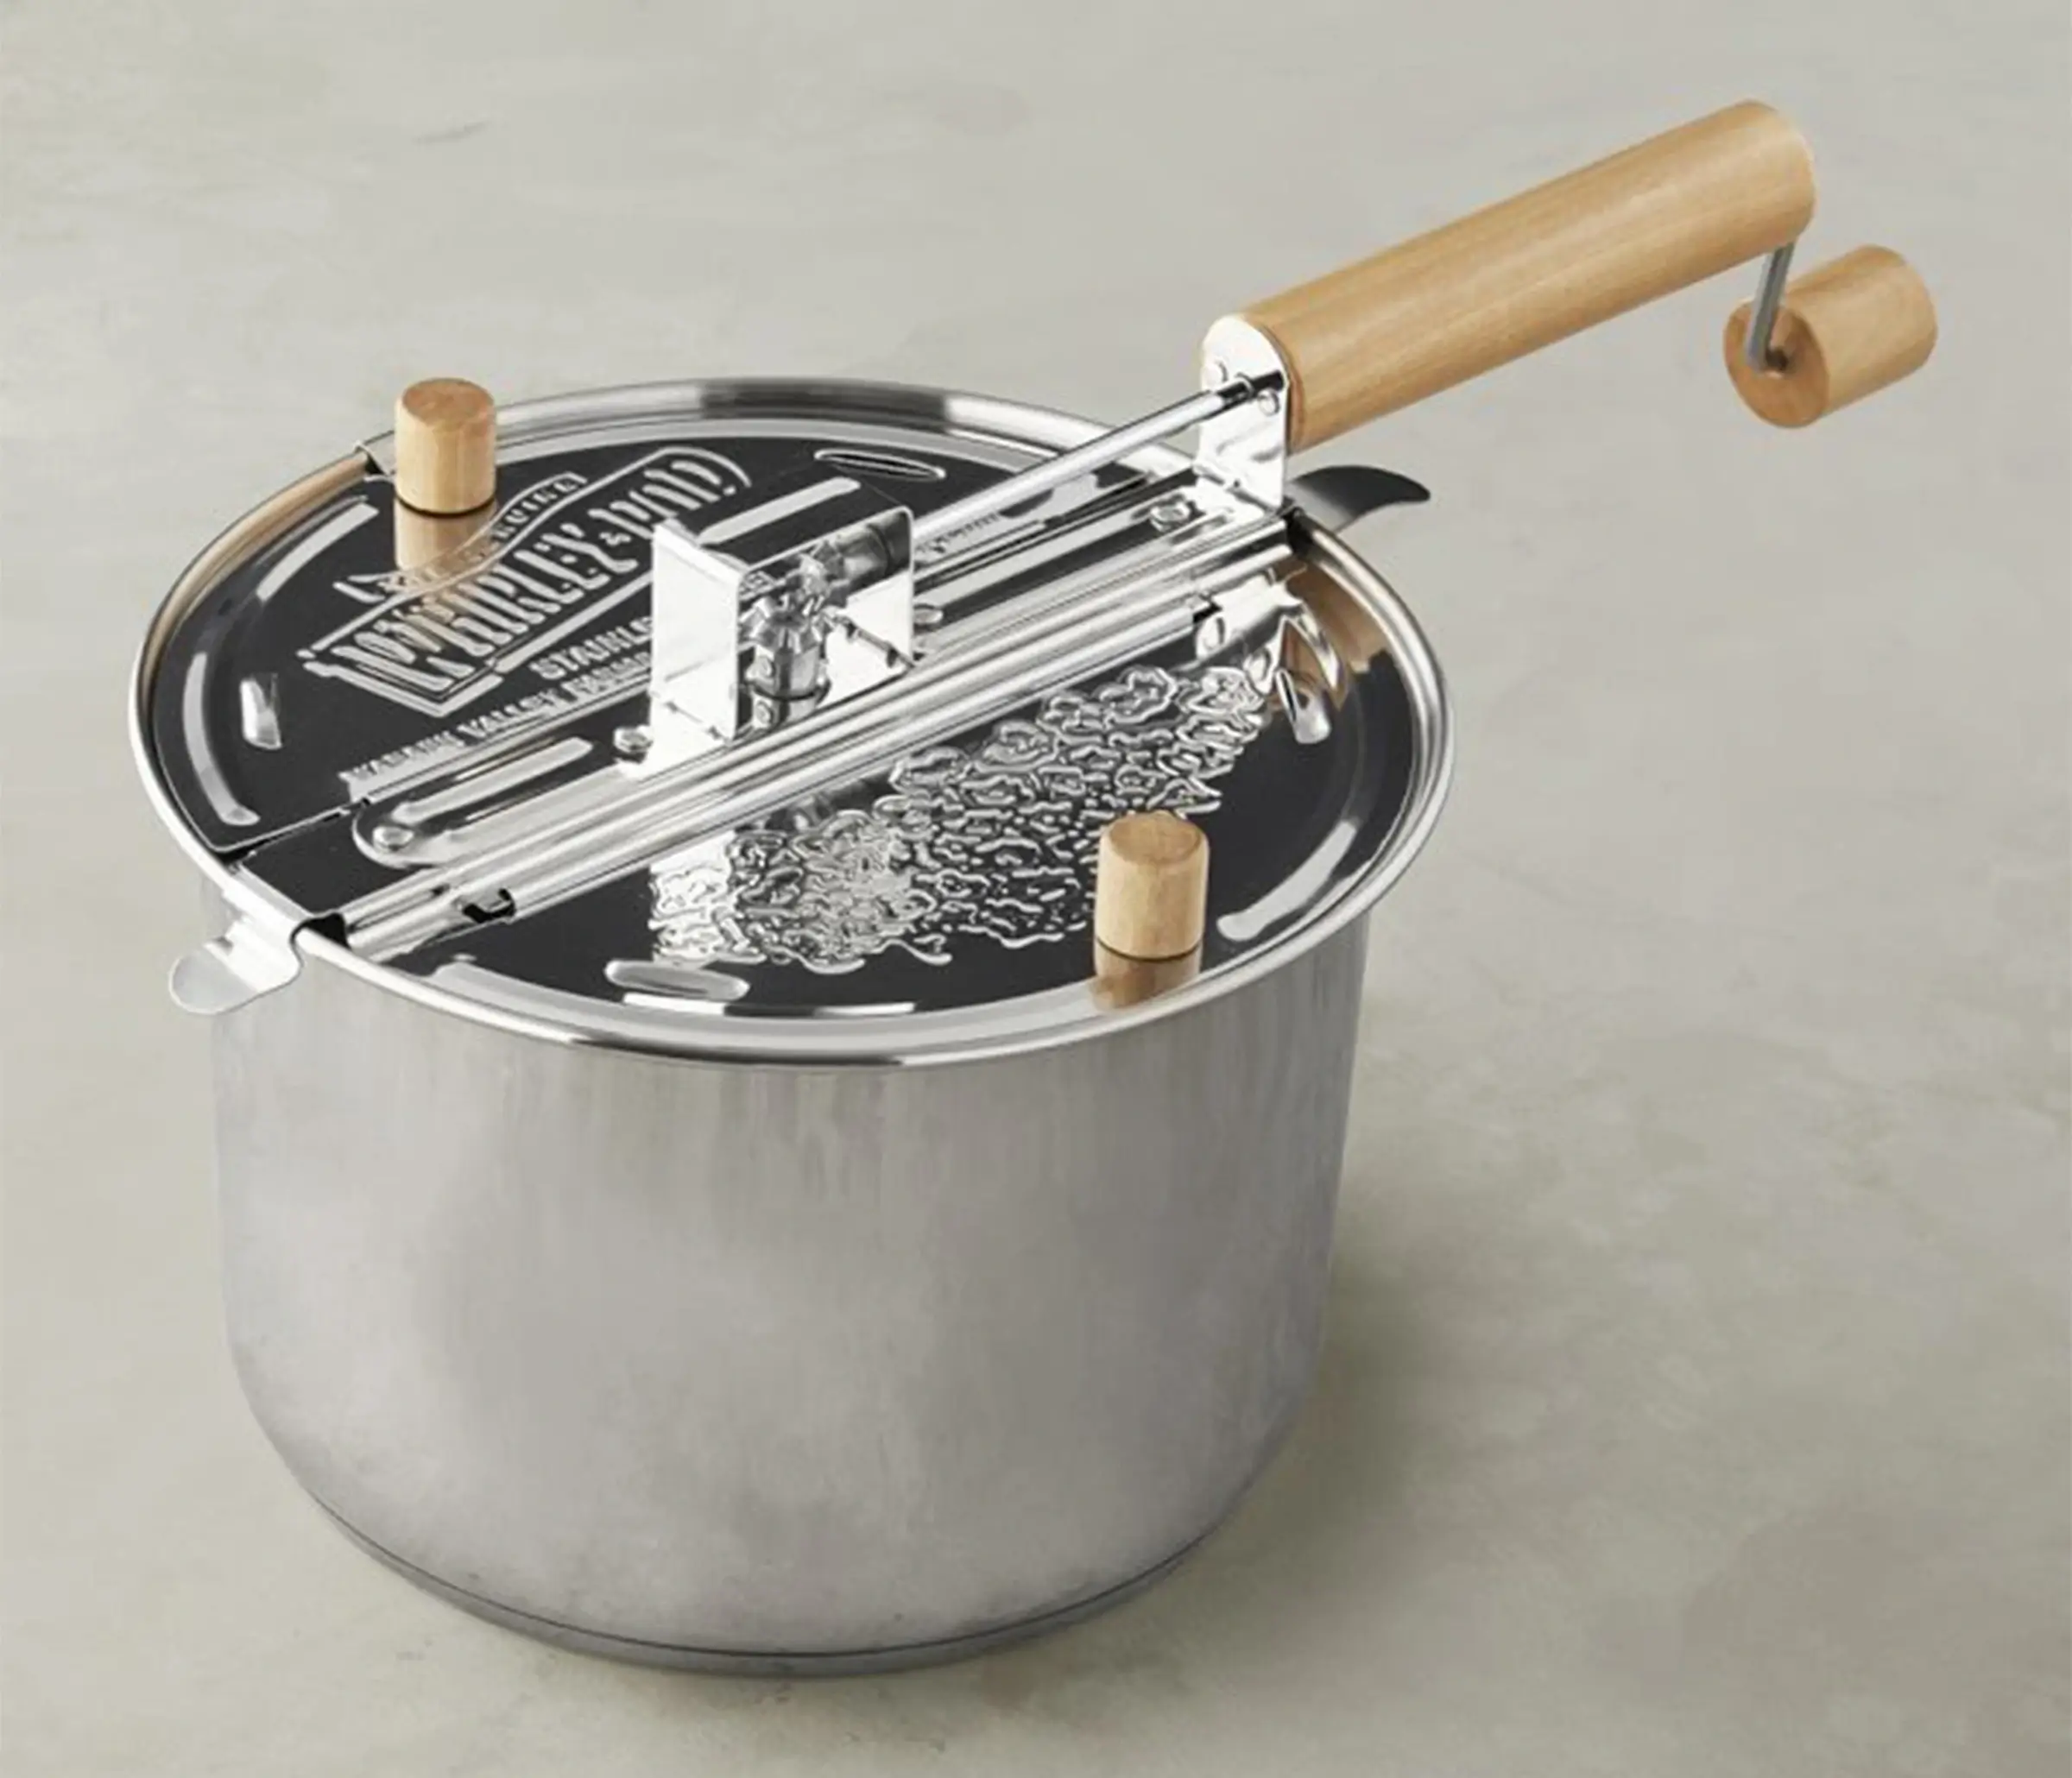
Roasting coffee in a popcorn popper is famous for roasting coffee at home. It involves using a hot-air popcorn popper to roast the green coffee beans. The beans are placed in the popper and heated using hot air. This method is best suited for small batches of coffee and allows for greater control over the roast level.
One of the advantages of roasting coffee in a popcorn popper is that it is a simple and affordable method. It also allows for greater control over the roast level, as you can easily monitor the beans and remove them from the heat as soon as they reach the desired roast level.
To roast coffee in a popcorn popper, you will need
- Green coffee beans
- Hot air popcorn popper
- Thermometer
- Timer
- Cooling tray
- Airtight storage container
Start by heating the popcorn popper and adding the green coffee beans. Wait about 8-10 minutes or until the beans reach the desired roast level. Keep a close eye on the temperature, and when the beans reach the desired roast level, remove them from the popper and transfer them to a cooling tray. Allow the beans to cool completely before storing them in an airtight container.
PROS
- Simple
- Automatically agitate/rotate beans
- Easy to get a perfect roast
CONS
- Not built for roasting coffee
- Some machines will break after a few roasts
- Price is not an indication of the longevity of
At a Glance
Roasting time:
8-10 min + 12 hours
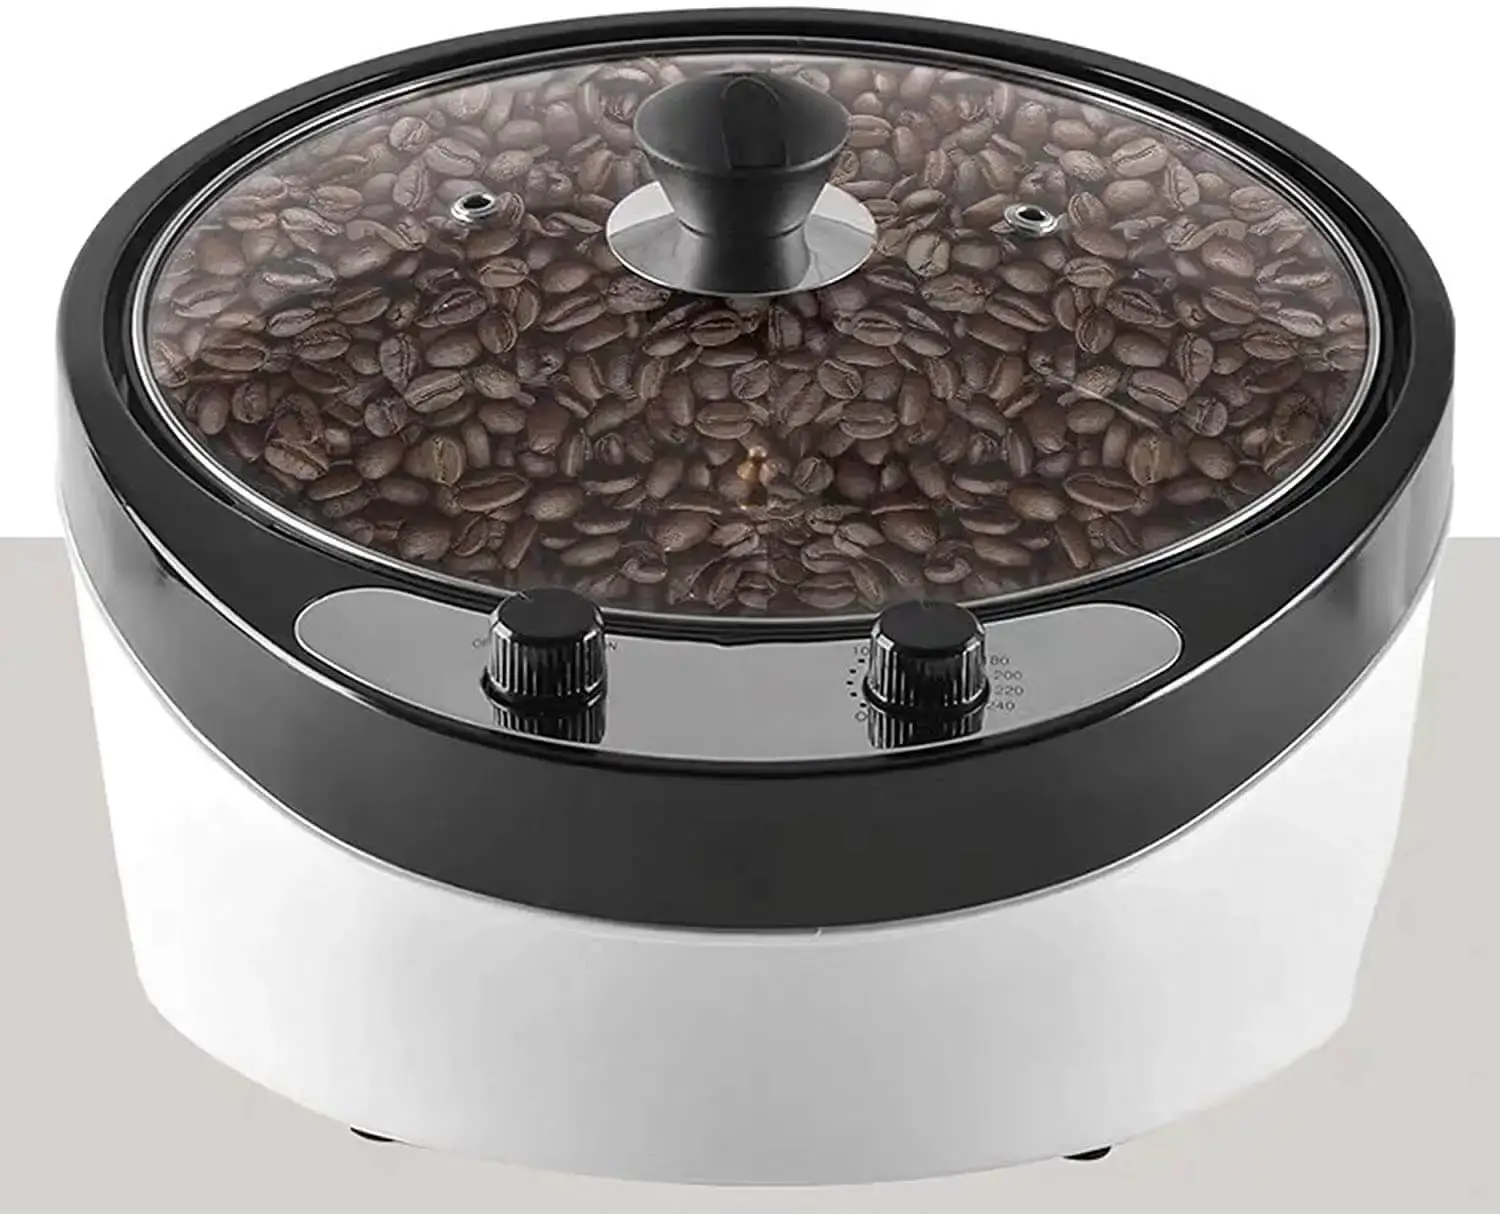
Coffee Bean Roaster:
If you’re committed to coffee roasting, you’ll eventually invest in a high-quality home roaster. These machines are becoming more affordable and provide a much more efficient roasting process than other methods.
To roast coffee in a Home Coffee Roaster, you will need
- Green Coffee Beans
- Coffee roasting machine
- Cooling tray (Optional)
A good home coffee roaster will produce a consistent roast level for achieving your desired flavor profile. Consistency is the key to maintaining coffee satisfaction in the long term. Once you’ve found the perfect roast, a good home roaster will help you replicate it every time.
PROS
- Purpose-built and long-lasting
- Simple to use and clean
CONS
- More expensive than other options
- Bulkier than other options
At a Glance
Roasting time:
It depends on the roaster
De-Gassing Your Beans
It is an essential step in the coffee brewing process that ensures the freshest and most flavorful cup of coffee. De-gassing refers to the release of carbon dioxide (CO2) naturally occurring in roasted coffee beans after being burned. This CO2 is a byproduct of roasting and is released as the beans cool down. When the beans are stored in an airtight container, the CO2 can build up and cause them to become stale and lose flavor.
The most effective way to de-gas coffee beans is by placing them in a storage container with the lid off or slightly open, allowing the gases to escape. This process is necessary after roasting for a minimum of a few hours and up to 24 hours. Once the de-gassing process is complete, the container should be sealed to prevent oxygen from entering and to keep the beans fresh and flavorful.
Another way to de-gas coffee beans is by using a coffee burr grinder. The act of grinding coffee beans releases CO2 and accelerates the de-gassing process. However, it’s important to note that once the beans are ground, they should be brewed immediately.
Roasting Coffee Beans at Home: Final Thoughts
Roasting coffee beans at home is a unique skill that can quickly become a passion for those who take it up. The flavor and aroma of freshly roasted coffee beans are unparalleled, and many people find that they can’t go back to store-bought beans after experiencing the taste of home-roasted coffee.
While it may seem daunting at first, roasting coffee is simple enough. For a more in-depth look at how different roasts compare, especially in brewing methods like espresso or filter coffee, check out “Espresso Roast vs Filter Roast: What’s the Difference?”. Additionally, for those interested in exploring unique brewing techniques like French press or cold brew, our guide “French Press & Cold Brew Coffee: The Complete Guide” offers valuable insights.
You’ll quickly understand why so many coffee enthusiasts have begun roasting their beans at home by trying them. The satisfaction of creating unique blends and experimenting with different roast levels is unparalleled. Roasting coffee at home is an art and a science; the more you do it, the more you’ll learn about coffee beans’ process and flavor profile. It’s a fun and rewarding hobby that can take your coffee game to the next level.